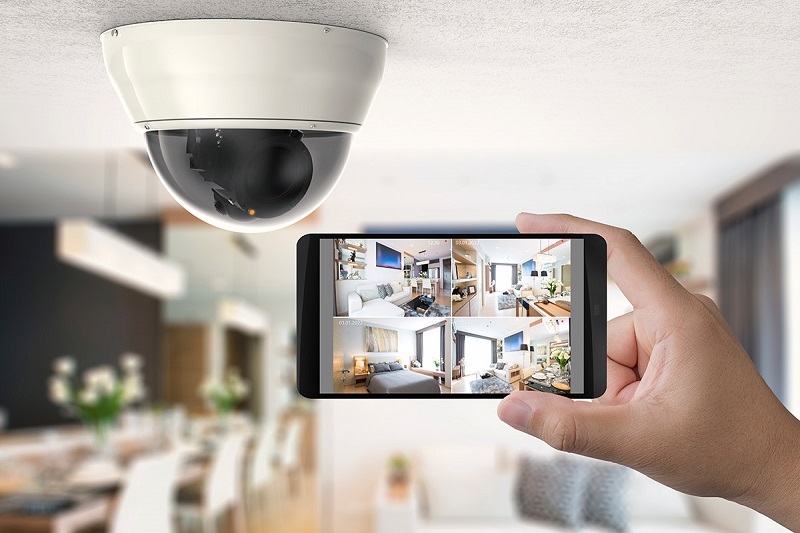
Wired home security systems are the oldest form of modern security systems in use. The system is very basic as you need wires to connect the alarm sounders to the control panel. Modern security systems utilize wireless networking for connectivity. But for those who still love their good old hard wired security systems, here are step by step procedures to help you with the set-up. If you are technologically savvy, you might be able to build a hard wired system on your own from scratch. But if you cannot, go to a security shop and get a reliable wired home security system and follow the tips below for installation. Choose a Vantage Location for alarm and Panel Installation The first thing you do after getting home with your new wired security system is to locate a vantage position for the panel and the alarm sounders.
The panel should be placed close to an electrical mains outlet and in a location that is easily accessible for its operation, but not too close to doors and windows. Also, the sounders should be located in a position from where it can easily be heard if the alarm goes off. Pass wires through Conduits or hold with pins in hidden locations You should pass the connecting wires through conduits to prevent damage by burglars. If you cannot achieve it, run the wires in a relatively hidden fashion and hold it with specials wire pins to stay put. Bear in mind that you might need to drill tiny holes in the walls and ceilings to achieve this. So, make sure that you have a drill equipment handy. Final Connection and Testing After running the wires, finally connect the alarm system with the sounders and test the alarm to ensure that the system has been well set up. Also, disconnect from electricity supply and test with batteries to ensure that the sounders will remain functional even when power is out.

